

Remember the first time you tasted something so beautiful, it felt like magic? Maybe it was at a birthday party or a family gathering—a moment where dessert became more than just sweets. That’s the joy of baking a Swedish princess cake. With its soft layers, silky marzipan, and pastel-green charm, this treat turns ordinary days into celebrations.
Originally created in the 1930s for Sweden’s royal family, this layered dessert carries a story as rich as its flavors. But don’t let its elegance intimidate you. We’ve designed this guide for beginners, breaking down every step—from mixing batter to crafting that iconic dome shape. You’ll learn pro techniques like tempering custard and assembling layers, all while discovering fun historical tidbits.
By the end, you’ll not only master a classic recipe but also gain confidence to tackle other showstopping cakes. Hannah Ziskin, a pastry chef with 15 years of experience, shares her secrets for avoiding common pitfalls. Ready to create something unforgettable? Let’s preheat the oven and begin your baking adventure.
Table of Contents
Introduction and Essential Ingredients
What if a single dessert could tell a century-old story? That’s the magic behind Sweden’s iconic layered treat. Born in the 1930s through Jenny Åkerström’s cookbooks, this dessert was nicknamed “prinsesstårta” after royal sisters who adored its delicate flavors.
From Green Cake to Modern Masterpiece
Originally called grön tårta (green cake), early versions used pistachio cream. By the 1940s, raspberry jam became standard, adding a tart contrast to sweet custard. Its layers symbolize Swedish fika culture—slow moments with good company,
notes historian Lars Åström.
Building Blocks of Flavor
Precision matters. You’ll need:
- 450g pastry cream (vanilla bean elevates flavor)
- 200g raspberry jam for fruity brightness
- 6 eggs divided for sponge and custard
Use full-fat milk and fine sugar for silky textures. A 9-inch springform pan ensures even baking. While stand mixers save time, hand-whisking egg whites works if you’re patient. Parchment paper? Non-negotiable—it prevents sticking without extra grease.
Every ingredient plays a role. Vanilla balances the custard’s richness, while sugar stabilizes the airy sponge. Miss one element, and the harmony fades. But follow measurements closely, and you’ll taste history in every bite.
Step-by-Step Guide to Crafting Your princess cake
The secret to a flawless layered treat lies in the careful preparation of its components. Let’s start with the chiffon cake and pastry cream—the foundation of every bite.

Preparing the Chiffon Cake and Pastry Cream
Begin by sifting flour and baking powder into a bowl. Separate 4 egg whites from the yolks. Whip the whites in a mixer until stiff peaks form. Fold them gently into the batter with melted butter to keep it airy. Bake at 325°F for 25 minutes.
For the pastry cream, combine cornstarch, sugar, and yolks in a bowl. Bloom gelatin in cold water for 5 minutes. Heat milk with a split vanilla bean until steaming. Slowly pour half into the egg mixture, whisking nonstop.
Mixing and Tempering Techniques
Return the tempered mixture to the saucepan. Cook on medium heat, stirring until thick. Remove from heat, then stir in bloomed gelatin. Constant whisking prevents scrambled eggs in your cream,
advises pastry chef Hannah Ziskin.
Pour the pastry cream through a sieve into a clean bowl. Cover with plastic wrap touching the surface to avoid skin. Chill for 2 hours. When both elements cool completely, you’re ready to assemble.
Assembling and Structuring Your Cake Masterpiece
Building a layered dessert requires precision and patience. Start by slicing your cooled sponge horizontally into three even layers using a serrated knife. Place a parchment-lined plate nearby—this prevents sticking when shaping your creation.

Layering Techniques and Cake Soak Method
Brush each layer with a cup of sweet milk soak (1:1 milk and sugar). This keeps the layers moist without sogginess. Spread raspberry jam first, followed by diplomat cream—a mix of pastry cream and whipped cream. Use an offset spatula for even distribution.
Stack the second layer and repeat. For the final tier, spread plain pastry cream. Chill the stacked layers for 30 minutes before shaping,
recommends pastry chef Ziskin. This prevents sliding during assembly.
Tips for Achieving a Perfectly Domed Top
Invert the dessert onto a parchment-lined pan to create the classic curve. Gently press the top with your palms to form a natural dome. Wrap in plastic wrap and refrigerate for 1 hour to set the shape.
| Tool | Purpose | Pro Tip |
|---|---|---|
| Springform Pan | Easy release | Line sides with parchment strips |
| Stand Mixer | Whip cream faster | Use chilled bowl for peaks |
| Bench Scraper | Smooth edges | Dip in hot water between swipes |
When combining diplomat cream ingredients, a stand mixer ensures fluffy results. For clean slices, dip your knife in warm water before cutting through the top cake layer.
Decorating Your Princess Cake: Marzipan and Finishing Touches
Transform your creation into a work of art with the final decorative touches. This stage turns simple layers into a showstopper through careful shaping and imaginative flair.
Smoothing Out and Shaping the Marzipan Cover
Dust your work surface with powdered sugar to prevent sticking. Roll marzipan into a ¼-inch thick circle large enough to cover the entire dessert. Lift it gently using a rolling pin and drape over the top.
Use your palms to smooth the marzipan from the dome downward. Trim excess edges with a sharp knife, holding plastic wrap against the base for clean cuts. Work quickly—marzipan dries fast and cracks if handled too long,
advises pastry chef Ziskin.
Creative Decoration Ideas and Presentation Tips
Whip heavy cream with mascarpone until stiff peaks form. Pipe swirls around the base or shape a rosette on the dome. For texture, press toasted coconut flakes onto the sides.
Add delicate accents like:
- Edible pansies dipped in powdered sugar
- Hand-formed marzipan roses tinted with food coloring
- A dusting of confectioners’ sugar using a fine-mesh sieve
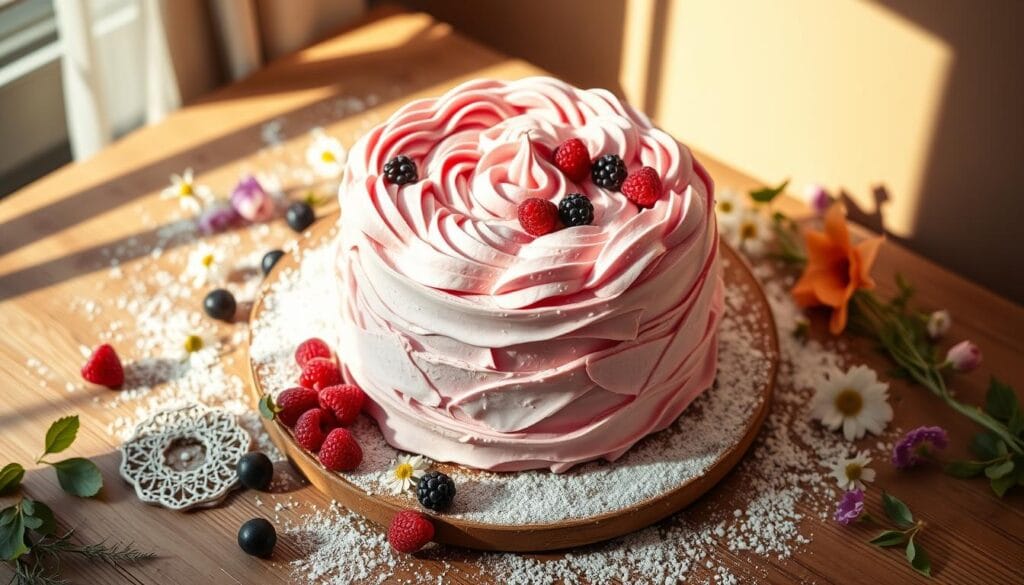
Place the finished dessert on a plate with fresh raspberries.
Simple designs often make the strongest impact—let the layers speak for themselves,
says Ziskin. Chill until serving to keep thecreamfirm and flavors bright.
Conclusion
Creating a stunning dessert masterpiece might seem daunting, but every step builds toward something extraordinary. By carefully preparing your pastry cream, tempering the egg mixture, and layering with raspberry jam, you’ve crafted a foundation worthy of celebration. Remember: chilling components as you set aside time between steps ensures stability, while the sweet milk soak keeps layers tender.
When shaping your dome, patience pays off. Smooth marzipan over the chilled structure, using powdered sugar to prevent sticking. Store your creation under plastic wrap in the fridge for up to four days—ideal for planning ahead. The recipe’s flexibility allows preparing diplomat cream and sponge a day early.
Whether piping whipped cream rosettes or adding edible flowers, let creativity shine while honoring tradition. With precise techniques and attention to detail, your Swedish princess cake will rival bakery-quality results. Share it proudly at gatherings—each slice tells a story of skill and passion.
FAQ
Can I substitute raspberry jam with another fruit spread?
How do I prevent the marzipan from cracking when shaping it?
What’s the secret to a stable whipped cream layer?
Why does my chiffon cake collapse after baking?
Can I make components like pastry cream ahead of time?
How do I achieve the iconic dome shape without a specialty mold?
Is there a vegan alternative for this recipe?
There are no reviews yet. Be the first one to write one.