

Introduction
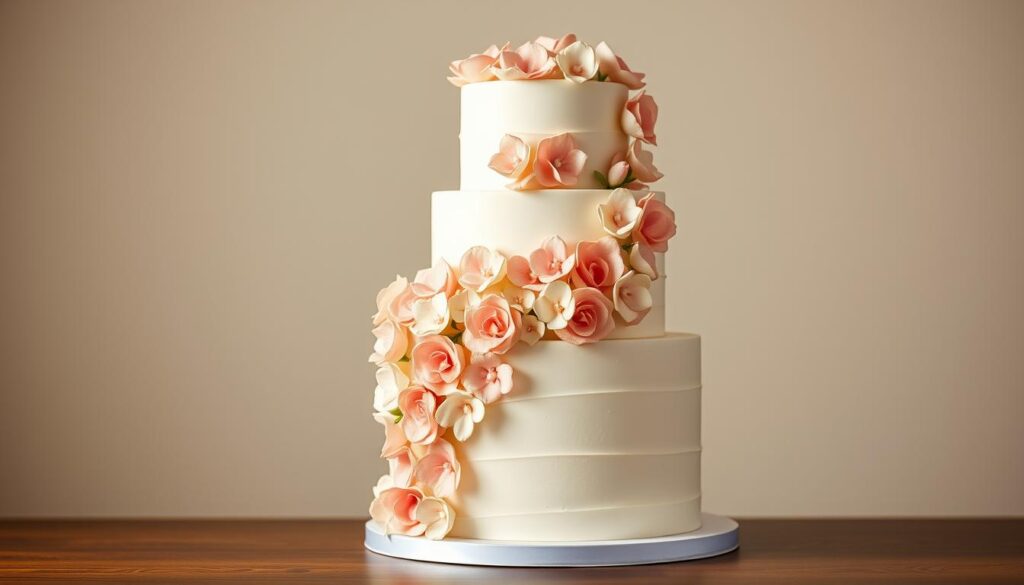
Welcome to the enchanting world of flower cakes! These stunning creations have become a delightful choice for celebrations, blending artistry with flavor. Whether it’s a wedding, birthday, or just a special treat, a flower cake is sure to captivate your guests.
The art of cake decoration has evolved into a thoughtful craft, where every detail tells a story. This guide will walk you through practical steps to create a beautiful design, starting with a strong base. Each step is crucial, as it builds the foundation for your masterpiece.
Your journey begins with simple ingredients like cake layers and buttercream frosting. With the right tools and patience, you’ll transform these basics into a sophisticated decorative masterpiece. From the initial layers to the final flourishes, every step is broken down into manageable parts.
By the end of this guide, you’ll master the fundamentals of cake assembly and decoration. Get ready to unleash your creativity and make a buttercream flower cake that’s as delightful as it is delicious!
Gather Your Ingredients and Tools for a Stunning Flower Cake
Before you start creating your masterpiece, it’s essential to have all the right ingredients and tools ready. This ensures a smooth and enjoyable process as you work on your stunning flower cake.
Essential Ingredients Overview
Your journey begins with fresh, room-temperature ingredients. For the cake, you’ll need:
- 1 ½ cups of unsalted butter, softened to room temperature
- 1 ¾ cups of granulated sugar
- 4 large eggs, at room temperature
- 2 ¼ cups of all-purpose flour
- 1 ½ teaspoons of baking powder
- 1 teaspoon of salt
- 1 cup of sour cream
- 2 tablespoons of vegetable oil
- 2 teaspoons of vanilla extract
For the buttercream frosting, you’ll need:
- 2 cups of unsalted butter, softened
- 4 cups of powdered sugar
- 4-6 tablespoons of coconut milk
- Gel food coloring (for vibrant colors)
Must-Have Baking Tools
To achieve professional results, you’ll need the right tools. Essential items include:
- A sturdy mixing bowl
- 6-inch or 8-inch round cake pans
- A high-quality piping bag
- Specific piping tips (like the round tip for details)
- A cake turntable for smooth frosting application
- A set of palette knives for scraping and smoothing
Using gel food coloring ensures your flowers have vibrant, long-lasting colors. Proper tools and ingredients set the foundation for a perfect cake creation, making the process easier and the results more impressive.

Preparing the Cake Base and Layers
Your journey to creating a stunning dessert begins with a well-prepared cake base. This foundation is crucial for both the structure and appearance of your final masterpiece.
Mixing Ingredients and Achieving the Right Batter Consistency
Start by ensuring all your ingredients are at room temperature. This step is vital for creating a smooth batter. In a large mixing bowl, cream together the softened butter and granulated sugar until light and fluffy. Next, add the eggs one at a time, allowing each to fully incorporate before adding the next.
Gradually mix in the flour, baking powder, and salt. Be careful not to overmix, as this can lead to dense layers. Finally, stir in the sour cream, vegetable oil, and vanilla extract until the batter is even and smooth.
- Use a rubber spatula to scrape the sides of the bowl for an even mix.
- Avoid overmixing to keep the batter tender and light.
Baking, Cooling, and Leveling the Cake
Preheat your oven to 350°F. Prepare your 8-inch round pans by lightly greasing them and lining the bottoms with parchment paper. Divide the batter evenly between the pans, using an ice cream scoop or scale for consistency.
Bake for 20-23 minutes, using bake-even strips to ensure uniform baking. Allow the layers to cool in the pans for 10 minutes before transferring them to wire racks to cool completely.
Once cool, use a serrated knife to level each layer. This creates an even surface for frosting and stacking. A ruler can help mark a consistent height for precise trimming.

A well-prepared cake base ensures your dessert is both stable and visually appealing. This smooth foundation makes it easier to apply the buttercream frosting and decorate the top cake with intricate designs using a piping tip like a round tip for details.
Creating a Flawless Buttercream Frosting
Mastering the art of buttercream frosting is a crucial step in creating a stunning dessert. This section will guide you through the process of making a smooth, stable frosting that’s perfect for decorating.
Whipping Techniques and Ingredient Tips
The key to a perfect buttercream starts with room temperature ingredients. Use softened unsalted butter and gradually add powdered sugar while whipping. This incorporates air, ensuring a light and fluffy texture. Heavy cream is added to achieve the right consistency, making the frosting spreadable and ideal for piping.
Achieving a Smooth and Stable Consistency
Whip the butter for about 7 minutes until it becomes nearly white and smooth. Gradually mix in 3 ½ cups of powdered sugar and 4 tablespoons of heavy cream. For a stiffer consistency, add an extra ½ cup of powdered sugar. If too thin, add a little more powdered sugar; if too thick, add a teaspoon of milk.
| Issue | Solution | Tips |
|---|---|---|
| Too Thick | Add 1-2 tsp milk | Use room temp milk |
| Too Thin | Add ½ cup powdered sugar | Whip longer for stability |
A well-made buttercream provides a beautiful finish, ensuring your dessert looks as good as it tastes. With these tips, you’ll achieve a professional-quality frosting perfect for any celebration.
Decorating Your Flower Cake with Buttercream Flowers
Transform your dessert into a work of art by mastering the techniques for creating beautiful buttercream flowers. This step-by-step guide will help you achieve professional-looking results.
Piping Techniques for Detailed Buttercream Flowers
Start by ensuring your cake is chilled in the cake fridge to prevent crumbling. This step is crucial for maintaining the cake’s integrity during decoration.
- Use a piping bag fitted with the right tip to create consistent designs.
- Experiment with different piping techniques to craft intricate flowers and patterns.
Assembling and Adding Final Touches
Proper layering ensures each part of your dessert holds together seamlessly. Once your layers are stacked, use a thin coat of buttercream to secure them.
- Add final flourishes like delicate leaves or intricate borders using a piping tip.
- Enhance the visual appeal by incorporating gel food coloring for vibrant hues.
Tips and Tricks for a Picture-Perfect Cake Design: Flower Cake
Creating a stunning dessert is more than just following a recipe—it’s about the little details that make your design stand out. Whether you’re a novice or an experienced baker, these expert tips will guide you to a professional finish.
Insider Secrets for Color Mixing and Gel Food Coloring: Flower Cake
Mixing gel food coloring directly in piping bags ensures consistent hues. Start with a small amount and add more as needed for vibrant results. For precise measurements, use a measuring cup to balance your ingredients and colors effectively.
| Timing Tip | Recommendation | Benefit |
|---|---|---|
| Buttercream Mixing | 7-10 minutes | Ensures light, fluffy texture |
| Gel Coloring | Start with 2-3 drops | Adjusts to desired vibrancy |
Using high-quality unsalted butter enhances both flavor and texture. For consistent designs, practice piping techniques on parchment paper before applying them to your dessert. These small steps can make a big difference in achieving a professional look.
Troubleshooting Common Issues in Cake and Frosting Preparation: Flower Cake
Every baker encounters challenges, but overcoming them is part of the creative process. This section will guide you through common issues and practical solutions to ensure your dessert turns out perfectly.
Preventing Crumb Issues and Overmixing: Flower Cake
Crumb issues often arise from improper pan preparation or overmixing. To prevent this, ensure your pans are well-greased and lined with parchment paper. When mixing dry ingredients, do so gently to avoid developing gluten, which can lead to a dense texture. Measure dry ingredients accurately, and use the right amount of vanilla extract for flavor balance.
Adjusting Frosting Consistency on the Fly: Flower Cake
If your buttercream is too thick, add a teaspoon of milk. If it’s too thin, mix in a little more powdered sugar. Room temperature ingredients are crucial for smooth frosting. For grainy textures, try re-whipping the buttercream or adding a touch of heavy cream.
- Use quality piping bags for smooth frosting application.
- Maintain balance in ingredient ratios, especially sour cream and dry ingredients.
Presentation, Storage, and Serving Suggestions: Flower Cake
Once your masterpiece is complete, it’s time to showcase it. Proper presentation and storage ensure your dessert remains both visually stunning and delicious.
Creative Plating and Display Ideas: Flower Cake
Add a finishing touch with a light spread of vanilla extract for enhanced flavor. Consider placing your dessert on a decorative stand or cake pedestal to elevate its presence. Fresh greenery or small decorative elements around the base can enhance the visual appeal without overpowering the design.
- Use a decorative stand to make your dessert the centerpiece of any event.
- Add fresh greenery or small decorative elements for a polished look.
Proper Storage Methods for Maximum Freshness: Flower Cake
Store your dessert in an airtight container to maintain freshness. If refrigerated, allow it to come to room temperature before serving for the best taste and texture. If the butter or cream mixture starts to soften, gently touch it up with a small amount of powdered sugar to restore stability.
- Store in an airtight container to preserve freshness.
- Let the dessert come to room temperature before serving.
By following these tips, you’ll ensure your dessert remains a delightful treat for everyone to enjoy.
Conclusion
With these simple steps and expert tips, you’re ready to craft your own stunning dessert. From baking the perfect layers to creating intricate designs, every detail matters. Whether you’re a beginner or an experienced baker, the right tools like a trusty spatula and parchment paper will help you achieve a flawless finish.
Your journey begins with precise measurements of sugar and ends with the delicate placement of decorations. Remember, the fridge is your friend for keeping your masterpiece fresh. Don’t hesitate to experiment and troubleshooting tips will guide you through any challenges.
Now, gather your ingredients, tools, and confidence. It’s time to create a dessert that’s as delightful as it is beautiful. Share your homemade masterpiece with joy and pride—your stunning creation is sure to impress!
2 thoughts on “How to Make a Stunning Flower Cake: A Step-by-Step Guide”
Comments are closed.