

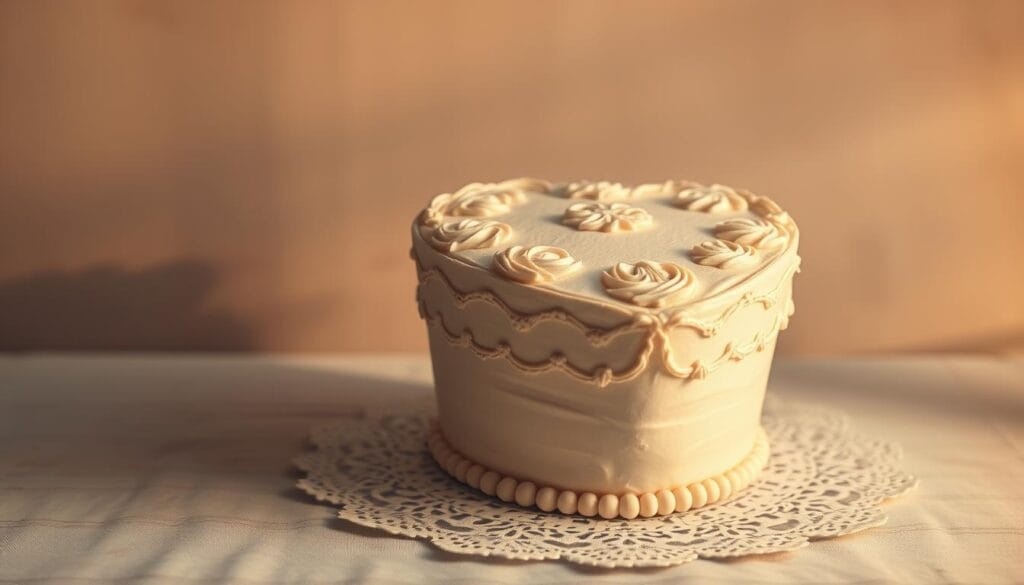
Imagine a dessert that combines the charm of the past with the elegance of modern baking. The vintage heart cake is more than just a treat; it’s a statement piece that captures the essence of love and celebration. Whether it’s a birthday, bridal shower, or Valentine’s Day, this retro-inspired dessert is sure to impress.
The beauty of this recipe lies in its simplicity. Using two 8-inch round cake layers, you can transform them into a stunning heart shape without needing specialty pans. The process is straightforward, requiring only basic kitchen tools and a bit of creativity.
The appeal of this cake is enhanced by its versatility. Buttercream recipes can be tailored to your taste, with various shades of pink adding a classic vintage touch. Techniques like shell borders and ruffle piping, inspired by experts like Sugar and Sparrow Co and Texanerin Baking, bring a professional finish to your creation.
What makes this recipe truly special is its adaptability. Feel free to experiment with colors, decorations, and even the base flavors to make it your own. It’s a canvas where your creativity can shine, ensuring each cake is as unique as the occasion it’s celebrating.
Essential Ingredients and Tools for Your Vintage Cake Creation
Creating a stunning vintage-inspired dessert requires the right ingredients and tools. This section will guide you through the essentials needed to bring your recipe to life.
Key Ingredients and Recipe Components
Your recipe starts with two 8-inch round cake layers, which form the base of your design. These layers are chilled and leveled to ensure evenness. The buttercream is a crucial component—prepare a generous amount with a medium consistency for smooth piping. For color, AmeriColor Deep Pink and Fuchsia add a classic touch, making your creation stand out.
Must-Have Tools and Equipment
A serrated knife is essential for precise cutting, while a cake turntable allows for easy access and display. Icing smoothers and piping bags with tips like Wilton 4B, 32, 102, and Tip 3 help achieve intricate designs. These tools are vital for a professional finish and are often recommended by experts like Sugar and Sparrow Co and Texanerin Baking.
| Ingredient/Tool | Details | Importance |
|---|---|---|
| 8-inch Cake Layers | Chilled and leveled for evenness | Base structure |
| Vanilla Buttercream | Medium consistency for piping | Smooth texture and design |
| AmeriColor Deep Pink/Fuchsia | Classic color addition | Enhances visual appeal |
| Serrated Knife | Precise cutting | Shapes the cake layers |
| Cake Turntable | Easy display and access | Convenient for decorating |
| Piping Tips (Wilton 4B, 32, 102, Tip 3) | Creates intricate designs | Professional finish |
With these ingredients and tools at your home, you can create a professional-looking dessert. The right tools and quality ingredients ensure your vintage heart cake is both delicious and visually appealing.

Step-by-Step Guide to Crafting Your Vintage Heart Cake
Transforming round cake layers into a stunning heart shape is easier than you think. With a few simple steps, you can create a beautiful dessert that impresses both in taste and presentation.
Preparing and Transforming Cake Layers
Begin by leveling and chilling your 8-inch round cake layers. This ensures evenness and makes cutting easier. Next, mark the layers for precise cuts. Using a serrated knife or an X-acto knife, carefully slice along the marked lines to create the heart shape. For accuracy, consider using a cardboard template as a guide.
Once cut, use a small amount of buttercream as “glue” to hold the curved pieces together. This step forms the iconic pointed bottom of the heart shape. To avoid mistakes, practice your cuts on scrap paper first.
Assembling and Shaping the Heart Form
Assemble the cake on a turntable for easy access. Place the heart-shaped layers with the points aligned. Gently press them together, ensuring they form a seamless heart. Smooth the edges with a knife or spatula to create a cohesive look.
For a polished finish, apply a thin layer of buttercream around the cake. This crumb coat helps prepare the surface for final decorations. Allow it to set before moving on to piping and detailing.
| Step | Materials Needed | Purpose |
|---|---|---|
| Leveling Layers | Serrated Knife, Turntable | Ensures even cake layers |
| Marking Cuts | Cardboard Template, Marker | Guides precise heart shape |
| Cutting Layers | X-acto Knife, Serrated Blade | Creates heart shape |
| Assembling Heart | Buttercream, Spatula | Forms heart structure |
| Smoothing Edges | Knife or Spatula | Creates seamless shape |

By following these steps, you’ll master the art of creating a stunning heart-shaped dessert. Remember, practice makes perfect, so don’t hesitate to experiment and refine your technique.
Decorating Techniques and Piping Essentials
Elevate your baking skills with these essential decorating techniques and piping tips. Whether you’re a novice or an experienced baker, mastering these methods will bring your creations to life.
Mastering Shell Borders and Ruffle Piping
Start with shell borders using the Wilton 4B tip for a classic look. This technique frames your dessert beautifully. For a more intricate design, try ruffle garlands with tips 32 and 102. These add depth and a delicate touch to your work.
Creating Artistic Details and Final Touches
Add a personal flair with artistic details. Overlapping shells can form heart shapes, while custom messages piped on top make your dessert truly special. Ensure your buttercream has the right consistency for smooth results.
Innovative Decoration Ideas for Special Occasions
For celebrations at home, try innovative embellishments. Adjust color intensity with AmeriColor gels to match your desired aesthetic. Take inspiration from experts to experiment with varied design elements and personalized flair.
- Use Wilton 4B for large shell borders to frame your dessert.
- Apply smaller shell borders and ruffle garlands with tips 32 and 102 for intricate detailing.
- Create artistic touches like heart shapes and custom messages.
- Adjust buttercream consistency for smooth piping.
- Experiment with colors using AmeriColor gels.
Remember, practice makes perfect. Let your creativity shine and enjoy the therapeutic process of decorating your masterpiece.

Troubleshooting and Expert Piping Tips: vintage heart cake
Mastering the art of piping is essential for creating professional-looking desserts. However, even experienced bakers encounter challenges like air bubbles and jagged lines. This section provides expert advice on achieving perfect buttercream consistency and mastering message piping.
Achieving the Perfect Buttercream Consistency: vintage heart cake
Achieving the ideal buttercream consistency is crucial for smooth piping. If the buttercream is too stiff, it won’t flow smoothly; if too soft, it will lose shape. To test, pipe a line—if it holds its shape but isn’t rigid, the consistency is just right. For adjustments, refrigerate for 5-10 minutes to firm up or let it sit at room temperature to soften.
| Issue | Solution |
|---|---|
| Air Bubbles | Tap the piping bag gently before use |
| Jagged Lines | Warm the piping bag with your hands |
| Too Stiff | Let it sit at room temperature |
| Too Soft | Refrigerate for 5-10 minutes |
Best Practices for Message Piping and Adjustments: vintage heart cake
For confident message piping, practice on a surface like parchment paper. Use warm hands to adjust frosting flow. Start with simple messages, gradually moving to complex designs. If needed, re-pipe over small mistakes without frosting.
- Practice on parchment paper first
- Use steady hands and consistent pressure
- Start with simple messages
Remember, practice makes perfect. With patience and observation, you’ll master these techniques and create stunning desserts.
Conclusion
With these simple steps, you can create a stunning dessert at home that captures the elegance of the past. The process begins with gathering the right ingredients and tools, ensuring each step is executed with precision. From leveling the cake layers to piping intricate designs, every detail matters to achieve a professional finish.
Remember, the key to success lies in using the right recipe and adhering to expert tips. This approach ensures consistent results, making even complex designs attainable. Don’t hesitate to experiment with colors and decorations, allowing your personality to shine through in every detail.
Before serving, review key pointers like buttercream consistency and piping techniques to ensure perfection. Take inspiration from testimonials and examples shared throughout this guide to boost your confidence. Finally, enjoy the therapeutic process of creating your masterpiece and share your results to inspire others.